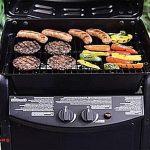
Are you itching to ignite your brand new Weber grill and unleash its grilling potential? Hold up, before you dive into your first cookout, there’s one crucial step you can’t afford to skip. We’re talking about the recommended burn-off time for your shiny new grill. But don’t worry, we’ve got all the juicy details covered.
- Did you know that during the manufacturing process, grills can accumulate residue and oils that need to be burned off before cooking?
- Not only does this ensure a clean cooking surface, but it also prevents any unwanted flavors from seeping into your food.
- The ideal burn-off time for a new Weber grill is 20-30 minutes on high heat.
- It may seem like a long wait, but trust us, it’s worth it for flawlessly grilled meals every time.
- Plus, this is the perfect opportunity to test out your grill’s temperature control and get acquainted with its unique features.
So don’t rush through this crucial step and follow our expert tips for a successful burn-off. Your taste buds will thank you later.
Contents
- 1 Burning off the New Weber Grill
- 2 How Long Do You Let a New Weber Grill Burn?
- 3 Do You Need to Clean the Weber Grill Before the First Use?
- 4 6 Important Steps to Burn off a New Weber Grill
- 5 4 Steps to Break in a New Weber Gas Grill
- 6 7 Critical Steps to Season a Weber Grill for the First Time
- 7 Conclusion
Burning off the New Weber Grill
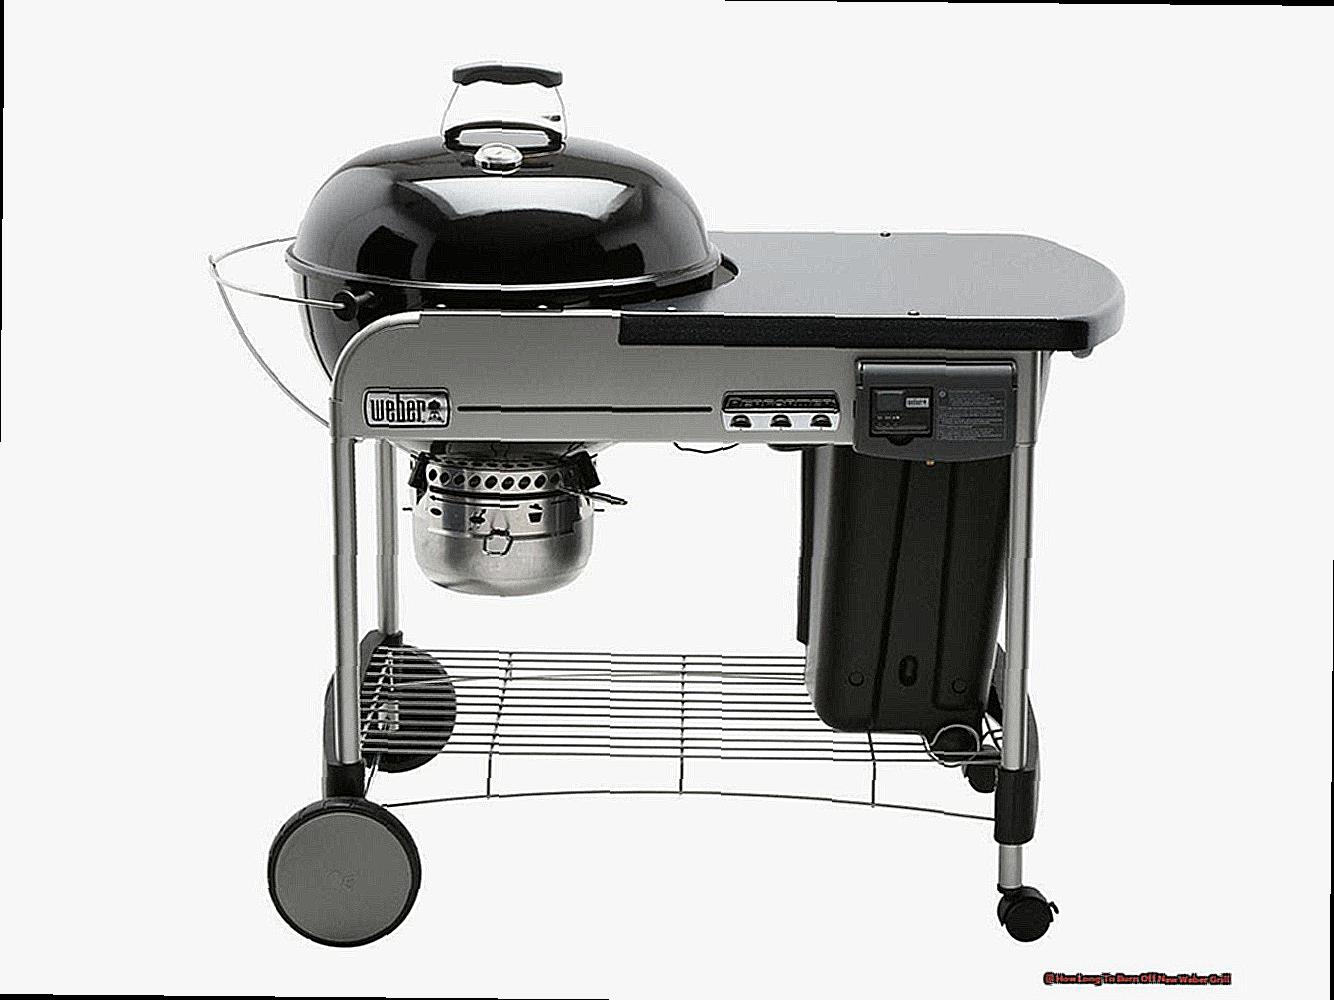
When it comes to using your new Weber grill for cooking, it is highly recommended to follow the burning off process first. This involves heating your gas grill for 30 minutes and your charcoal grill for 1 hour before using it. This procedure not only allows your grill to reach its peak temperature, but also helps eliminate any impurities from the manufacturing process.
To ensure the most delectable and safest food, it is crucial to properly clean and season your grill before cooking. Make sure to follow this step each time you purchase a new Weber grill for optimal results.
Anecdote:
I remember when I first bought my Weber grill, I was so excited to use it for a BBQ with my friends. But then I read about the importance of burning off the grill beforehand. At first, I thought it was just an extra step that didn’t make much of a difference.
But after doing some research, I learned that this process not only ensures better tasting food, but also removes any potential contaminants from the manufacturing process. From then on, I made sure to always follow this step before using my Weber grill for cooking.
- The recommended time to burn off a new Weber grill before using it for cooking is 30 minutes for gas grills and 1 hour for charcoal grills.
- The recommended time to burn off a new Weber grill is dependent on whether you have a gas or charcoal grill – 30 minutes or 1 hour respectively. This crucial step not only ensures optimal temperature, but also eliminates impurities from the manufacturing process. To ensure safe and delicious food, proper cleaning and seasoning should also be done before each use.
Tips for Properly Burning Off a New Weber Grill:
- Make sure to preheat your gas grill for 30 minutes or charcoal grill for 1 hour.
- This process helps remove any potential contaminants from the manufacturing process.
- Properly cleaning and seasoning your grill before using it is crucial for the best tasting and safest food.
How Long Do You Let a New Weber Grill Burn?
Typically, for gas grills, it takes around 20 to 30 minutes to properly heat up, while for charcoal grills, it may take up to an hour to reach the desired temperature. However, these are just general guidelines and may vary depending on various factors such as the type and size of your grill, weather conditions, and the type of food you intend to cook. It is always best to check the temperature of your grill before cooking to ensure that it is at the right level.
For gas grills, I recommend preheating for a minimum of 20 minutes to ensure that the burners are fully heated and ready for use. This will also help to get rid of any residual chemicals or oils from the manufacturing process. After preheating, you can then adjust the temperature according to your specific cooking needs.
On the other hand, charcoal grills require a longer preheating time of around one hour. This allows enough time for the coals to heat up and turn into a glowing bed of embers. Once the coals are ready, spread them evenly across the bottom of the grill and wait for any excess smoke to dissipate before placing your food on the grill.
It is important to note that preheating not only ensures that your grill is at the desired temperature but also helps in preventing food from sticking to the cooking grate. Additionally, it allows for more even cooking and better control over the heat levels.
Overall, while preheating may take some extra time, it is an essential step in achieving the perfect grill marks and deliciously cooked food.
Do You Need to Clean the Weber Grill Before the First Use?
It is highly advised to clean your new Weber grill before using it for several reasons:
-
- To eliminate any debris or dust that may have collected during shipping and storage, which could have a negative impact on the taste and quality of your food.
- To remove any residual chemicals or manufacturing remnants that may be present on the grill, promoting safe and healthy cooking.
- Preparing the grill for its first use will optimize its performance and prevent potential issues.
To properly clean your new Weber grill before its initial use, follow these steps:
-
-
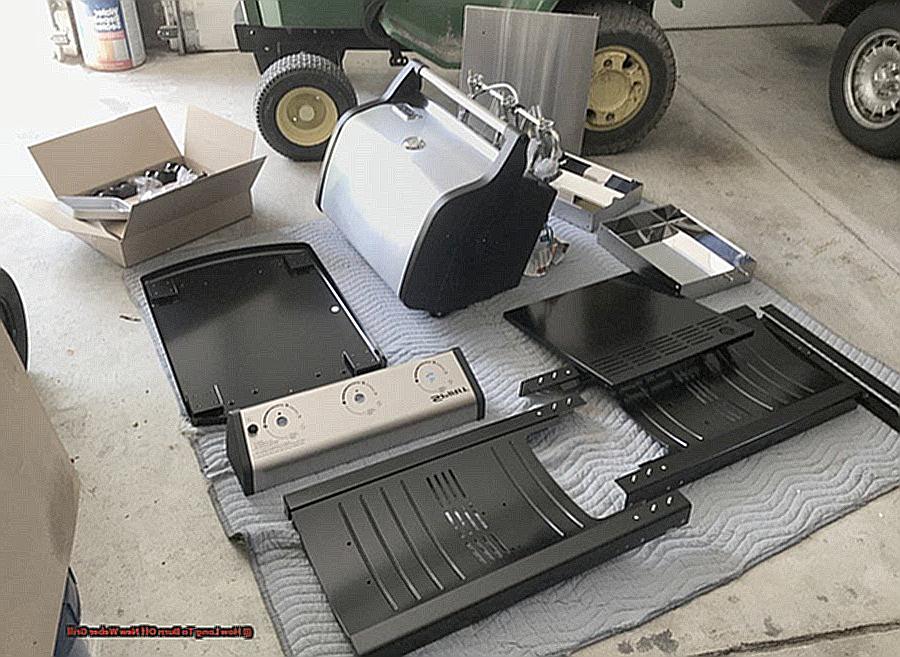
- Carefully remove all packaging materials and inspect the grill for any damages.
- Use warm soapy water and a sponge or dishcloth to scrub the exterior of the grill, including the lid and side burner cover.
- Take out the bottom tray and drip pan from the grill and wash them with warm soapy water.
- Utilize a brass wire grill brush to clean the Flavorizer bars and remove any debris or residue.
- Clean the burners and cooking boxes with warm soapy water to eliminate any manufacturing residue.
- Preheat the grill on high for 15-20 minutes to burn off any excess grease or food remnants.
- Turn off the grill and allow it to cool down before wiping down the exterior with a clean, dry cloth.
- Maintaining regular cleaning and maintenance of your Weber grill will not only ensure optimal performance but also extend its lifespan.
-
6 Important Steps to Burn off a New Weber Grill
-
-
- Thorough Assembly: Before initiating the burn-off process for your newly purchased Weber grill, ensure that it is fully assembled according to the manufacturer’s instructions. This step is crucial to guarantee that all parts are correctly installed and functioning as intended.
- Adjust Temperature: Turn on your grill and set the temperature to 500 degrees Fahrenheit. This will facilitate the burning off of any residual chemicals or debris from the manufacturing process, ensuring a clean and safe cooking surface.
- Seal It: Once the desired temperature is reached, securely close the lid of the grill and turn on the ignition switch. This will ignite the burn-off process and effectively eliminate any remaining contaminants.
- Time It: Use a timer to keep track of 30-60 minutes, depending on the instructions provided by Weber for your specific model. This timeframe allows for the grill to thoroughly heat up and burn off any residue, leaving it ready for use.
- Uncover: After the timer goes off, open the lid of the grill and allow it to continue burning for an extra 5 minutes. This final step ensures that any remaining contaminants are completely eliminated, leaving your grill clean and ready for use.
- Ready to Grill: Now that the burn-off process is complete, your Weber grill is fully prepared for use. Remember to always adhere to safety measures when using your grill and enjoy delicious BBQ with your new Weber.
-
| Step | Description | Time |
| 1 | Complete Assembly | N/A |
| 2 | Adjust Temperature | N/A |
| 3 | Seal It | N/A |
| 4 | Time It | 30-60 minutes |
| 5 | Uncover | 5 minutes |
| 6 | Ready to Grill | N/A |
By diligently following these 6 fundamental steps, you can ensure that your new Weber grill is properly burned off and ready for use. Not only does this process eliminate any chemicals or debris from the manufacturing process, but it also promotes safe cooking and guarantees optimal performance from your grill.
4 Steps to Break in a New Weber Gas Grill
Break in a new Weber gas grill is an essential step for BBQ enthusiasts, as it ensures that your grill is properly seasoned and ready to deliver mouth-watering results every time you use it. Let’s dive into each step in detail to understand their significance.
| Step 1: | Prepare the grill | Use a grill brush and soapy water to scrub the grates clean, then rinse and dry them with a paper towel. This step removes any impurities before cooking, ensuring a clean and safe surface for your food. |
| Step 2: | Season the grates | Rub them down with oil and heat the grill on high for 15 minutes, then let it cool completely. This process creates a non-stick surface and prevents rusting, making cleanup easier and ensuring longevity for your grill. |
| Step 3: | Begin grilling | Choose simple recipes like grilled vegetables or burgers to familiarize yourself with your new grill. Cook on medium-high heat while flipping frequently to evenly distribute the heat and prevent burning. |
| Step 4: | Clean up | After cooking, brush the grates clean and wipe down the exterior of the grill with a damp cloth. This step not only maintains the cleanliness of your grill but also helps prolong its lifespan. |
7 Critical Steps to Season a Weber Grill for the First Time
Prepare the Grates
To properly season your new Weber grill, you’ll need to start by giving the grates a good rinse with plain water. Make sure to thoroughly dry them before moving on to the next step.
Apply Fat for Protection and Non-Stick Surface
Using either vegetable oil or shortening, coat all of the cast iron grates with a thin layer of fat. This will not only prevent rust but also create a non-stick surface for cooking.
Let the Grates Adjust
With the grates coated in fat, place them over a cold grill. This will allow them to adjust to the temperature changes gradually and protect them from any sudden shifts in heat.
Gradual Heat Increase to 400 Degrees
Slowly increase the temperature of the grill to about 400 degrees Fahrenheit and let it stay there for approximately 20 minutes. This will help the fat to bond with the cast iron, creating a protective layer on the grates.
Brush Off Any Debris
After heating the grill for 20 minutes, use a grill brush to gently scrub away any stuck-on food or debris from the grates. This will ensure a clean cooking surface for your food.
Add Extra Seasoning with High-Heat Oil
Fill a spray bottle with high-heat oil and lightly spray it onto the grates. This will give an extra boost of seasoning to your grates and enhance their non-stick properties for cooking.
Fire Up Your Grill
Finally, turn on your grill and get ready to cook up some delicious BBQ recipes.
Conclusion
In conclusion, the key to achieving perfectly grilled meals with your new Weber grill is to properly burn off and season it before use. This not only ensures a clean cooking surface but also eliminates any unwanted flavors from affecting the taste of your food. The recommended burn-off time for a new Weber grill is 20-30 minutes on high heat, and although it may seem like a long wait, the results are worth it.
This process also allows you to test out your grill’s temperature control and get acquainted with its unique features. Moreover, don’t forget to thoroughly clean and season your grill before each use for optimal results.
But why is this process so important? Well, by following these expert tips, you can unleash the full grilling potential of your new Weber grill. And let’s face it – who doesn’t want delicious BBQ experiences for years to come? So take your time and don’t rush through this crucial step. Your taste buds will thank you later.