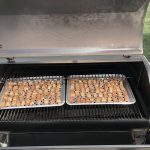
Are you tired of constantly babysitting your Traeger grill in hopes of achieving that perfectly smoked brisket? Well, get ready to elevate your grilling skills with the latest upgrade from Traeger – WiFIRE.
That’s right, and now you can control your Traeger grill from anywhere using just your smartphone, and no more standing by the grill for hours or fretting over temperature fluctuations ruining your meal.
With WiFIRE, you can set and monitor temperatures, adjust cooking times, and receive alerts when your food is ready – all from the convenience of your phone. In this blog post, we’ll explore everything you need to know about upgrading your Traeger to WiFIRE and how it will transform your grilling experience.
So, sit back, relax, and prepare to become the ultimate pitmaster with WiFi at your fingertips.
Contents
3 Steps to Know if Your Traeger Has WiFi Feature
As a cat owner, you understand the importance of having a reliable and convenient way to cook your food. With technological advancements, grilling has become simpler and more convenient.
Traeger grills with WiFi capability are an ideal choice for busy cat owners, allowing them to monitor and control their grills from the comfort of their own homes. But how do you know if your Traeger grill has this feature? Follow these three straightforward steps to find out.
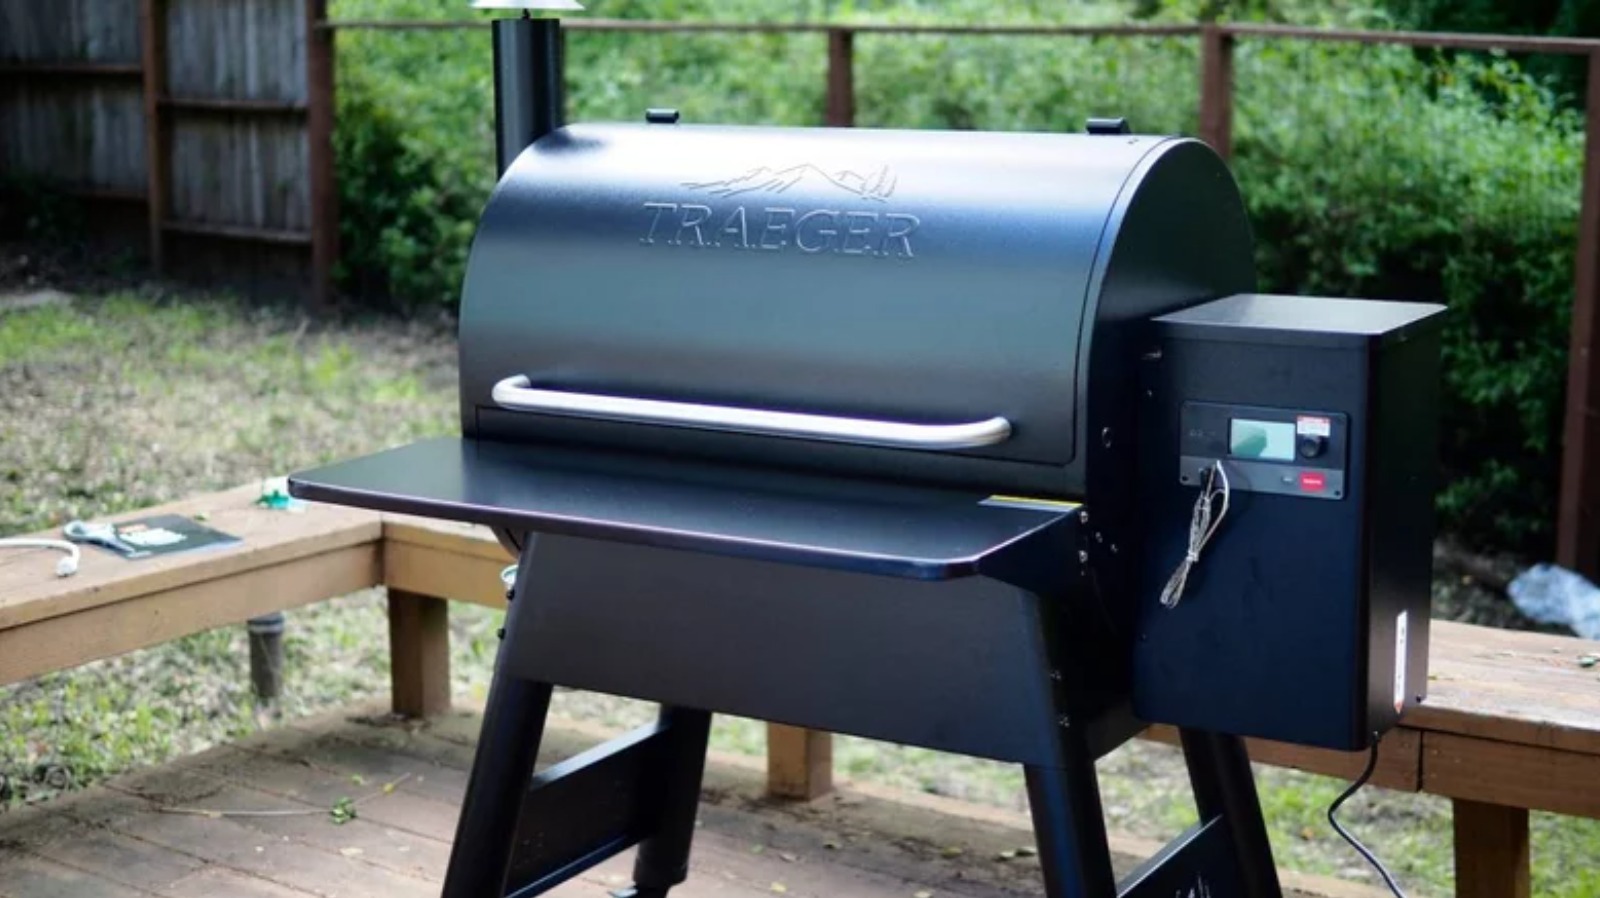
Step 1: Check for a Physical WiFi Button on the Control Panel
The first step is to ensure your Traeger grill is plugged in and turned on. Then, examine the control panel for a physical WiFi button.
If your grill has one, hold it down for 10 seconds until the LED light flashes. This will reset the WiFi connection and enable you to connect your grill to your home network.
Step 2: Connect to the Traeger App Using Your Smartphone or Tablet
If your grill does not have a physical WiFi button, fear not. You can still connect to WiFi using the Traeger app on your smartphone or tablet. Ensure your grill is close to your WiFi network and connected to a power source.
Then, open the Traeger app and navigate to the settings menu.
Select the option to connect to your grill’s WiFi network and choose your home network from the available options.
Step 3: Ensure a Stable Connection
After successfully connecting your grill to WiFi, it’s crucial to maintain a stable connection for optimal performance. Check the signal strength in the app’s settings menu and relocate closer to your router if necessary.
You can also invest in a high-quality router or use a dedicated network solely for your grill’s use.
Additionally, make sure that your router is functioning correctly to avoid any connectivity issues.
Can You Upgrade an Old Traeger Grill to Wifi?
As a proud feline companion, I know the hustle and bustle of everyday life. Between the demands of work, errands, and caring for our furry companions, finding time for anything else can be a daunting task.
That’s why I have adored my trusty Traeger grill – it allows me to savor delectable, home-cooked meals without spending countless hours in the kitchen.
But what if I told you that you could elevate your Traeger grilling experience with the power of WiFi? Yes, you read that right – you can now control your grill remotely with a simple tap on your smartphone. As an expert in upgrading old Traeger grills to WiFi capability, let me enlighten you on how to make this a reality.
First and foremost, the answer is a resounding yes – you can certainly upgrade your old Traeger grill to WiFi.
All it takes is the Traeger WiFi adapter kit and the accompanying app. This kit is specifically designed for older models of Traeger grills, so there’s no need to fret if your grill lacks built-in WiFi capability. With this kit at hand, you will be able to control your grill from anywhere and at any time.
How exactly do you go about upgrading your old Traeger grill to WiFi? It’s as easy as 1-2-3 – follow these three simple steps:
- Acquire the Traeger WiFi adapter kit – Before you can start relishing in the convenience of remote grill control, you must first acquire the adapter kit. You can find it online or at your nearest Traeger dealer.
- Download the Traeger app – Next on the list is downloading the Traeger app on your smartphone. It is available for both iOS and Android devices.
- Sync your grill with your smartphone – Once you have the adapter kit and app ready, it’s time to sync your grill with your smartphone.
5 Steps to Change Your Current Traeger Grill to a New WiFi Connection
Before embarking on this new gastronomic journey, let’s explore the 5 straightforward steps you must follow to change your current Traeger grill to a new WiFi connection. With only a few taps on your smartphone, you’ll be grilling like a seasoned pro in no time.
Step 1: Power On and Idle
First and foremost, ensure that your grill is powered on and in an idle state. This entails it not being in use and the temperature being at its lowest setting. It’s always wise to double-check before proceeding to the next step.
Step 2: Locate and Access Control Panel
Next, locate and access the control panel of your Traeger grill. This can usually be found on the side or front of the grill. If you need help finding it, refer to your grill’s manual for assistance.
Step 3: WiFi Setup Option
Search for the WiFi setup option on the control panel or within the Traeger app. This will initiate the process of connecting your grill to WiFi.
Step 4: Setup Mode
Once you’ve selected the WiFi setup option, your grill will enter setup mode.
Follow the instructions on the screen or within the app to complete the setup process.
Step 5: Connect to WiFi
In this final step, you must install the Traeger WiFi adapter kit on your grill.
After installation, navigate to MENU > WIFIRE CONNECTIVITY > ABOUT GRILL > WIFIRE CONNECTIVITY on your grill’s controller. Your WiFi network should now be visible, and you can connect to it.
5 Simple Steps to Set up a Traeger WiFire
Grilling has evolved with the introduction of Traeger WiFire technology. This groundbreaking feature allows you to oversee and manipulate your grill’s functions from any location with a few taps on your smartphone. Say farewell to constant monitoring and hello to more quality time with your feline companions.
Here, we will take you through the five simple steps to set up a Traeger WiFire and elevate your grilling experience.
Step 1: Download the Traeger App and Create an Account
To embark on this journey, first, download the Traeger app from the App Store or Google Play Store onto your smartphone.
Once installed, create a new account or log into an existing one. This will be your gateway to remotely controlling your grill.
Step 2: Power On and Idle Your Grill
Next, plug in your Traeger grill and turn it on. Ensure that it is within 100 feet of your WiFi router for a robust connection.
Allow the grill to idle for 15 minutes, allowing it to reach the optimal temperature for impeccable grilling results.
Step 3: Connect to WiFi through the Traeger App
Open the Traeger app and select “+ Add WiFIRE Grill” from the main menu. Here, you will encounter two options: pairing with a QR code or without one.
If your grill has a QR code under its hopper lid, opt for the first choice and scan it using your phone’s camera. If not, select the second option and manually enter your WiFi network password.
Step 4: Confirm Connection and Update Firmware if Needed
After successfully connecting to WiFi, double-check the firmware version of your grill and update it if necessary. This ensures that your grill operates on the latest software for optimal performance.
6 Easy Steps to Properly Use Traeger WiFire App
This does not mean you have to sacrifice the delectable taste of grilled food. Thanks to the Traeger WiFire App, you can have the best of both worlds – perfectly cooked meals and more time with your furry companions.
Here are six easy steps to help you connect your Traeger grill with WiFire and start using the app like a pro.
Step 1: Ignite Your Traeger Grill
The first order of business is to turn on your grill and press the menu button, which will bring up the main menu on the grill’s controller screen.
Using the arrow buttons, navigate to the option for WiFi Information and confirm your selection by pressing the select button. This will display a screen with your grill’s UUID (Universally Unique Identifier) code, a fancy term for its unique identifying number.
Step 3: Power Cycle Your Grill
To ensure a seamless connection with the WiFire App, it is crucial to power cycle your grill. Press and hold the ignite button for 10 seconds, then switch off and unplug your grill for 30 seconds.
Step 4: Connect to Your WiFi Network
After powering back on:
- Wait 30 seconds before pressing the power switch to OFF.
- Open the Traeger app on your phone and navigate to “Settings.”
- Select “Grill Setup” and enter your grill’s UUID code from step 2.
Step 5: Join Your WiFi Network
Enter your WiFi network password and tap “Join” to connect your grill to your home WiFi network. This step may take a few moments, so be patient.
Conclusion
In conclusion, the Traeger WiFIRE upgrade is a game-changer for grill masters and BBQ enthusiasts alike. No more constant monitoring or interruptions while cooking – with this new technology, you can spend more time savoring delicious meals with your furry friends. In this blog post, we have covered everything you need to know about upgrading your Traeger to WiFIRE and how it will transform your grilling experience.
Firstly, we discussed the three essential steps to determine if your Traeger grill has WiFi capability. Whether your grill has a physical WiFi button or not, connecting it to WiFi is a simple process that can be done through the Traeger app on your smartphone.
Next, we explored how you can upgrade an older model of Traeger grill to WiFi by using the specially designed Traeger WiFi adapter kit and downloading the accompanying app. This kit makes it easy for anyone to upgrade their grill without any hassle.
Then, we delved into the five steps needed to change your current Traeger grill to a new WiFi connection. From powering on and accessing the control panel to connecting to WiFi using the user-friendly Traeger app, these steps are straightforward and easy to follow.
We also discussed five simple steps required for setting up a Traeger WiFire. From downloading the app and creating an account to confirming connection and updating firmware if needed, these steps will have you grilling like a pro in no time.
Lastly, we shared six easy steps for properly using the Traeger WiFire app. These steps will help you connect your grill with WiFire and start using the app like a pro in no time.
In conclusion, upgrading your Traeger grill to WiFIRE is necessary for busy cat owners looking for convenience without sacrificing flavor. So why wait? Elevate your grilling skills today with WiFI at your fingertips. Trust us: once you experience the ease and efficiency of cooking with Wi-Fi, you’ll never want to return.