Are you tired of lackluster ribs that leave your taste buds feeling disappointed? Are you ready to elevate your grilling skills and create mouthwatering ribs that will have everyone begging for seconds? Look no further than the magic of dry brining. This simple yet powerful technique involves coating your ribs in salt and letting them rest in the fridge before cooking, resulting in tender, flavorful meat that will have you coming back for more.
But how long should you let them brine for optimal results? Is there a specific duration that guarantees succulent and delicious ribs every time? In this blog post, we’ll delve into the world of dry brining and uncover the ideal duration for achieving perfectly seasoned and juicy ribs. Get ready to impress your loved ones with these key points:
- Discover what dry brining is and why it’s crucial for juicy and flavorful ribs
- Uncover the science behind dry brining and how it enhances tenderness and taste
- Explore various factors that can influence the ideal duration for dry brining, such as cut of meat and personal preference
- Find out recommended durations for different types of ribs, including baby back, spare, and St. Louis
- Learn expert tips for achieving consistently moist and well-seasoned ribs every time
So, put on your apron, fire up the grill, and join us on a journey to master the art of dry brining ribs.
Contents
Ingredients Needed for a Basic Pork Rib Brine
The key components required for creating a simple pork rib brine are salt, sugar, and water. These ingredients collaborate to elevate the tenderness and juiciness of the ribs.
| Salt | Sugar | Water |
| Functions as a natural tenderizer by breaking down the connective tissues in the meat. | Also acts as a tenderizing agent and adds a touch of sweetness to the meat. | Serves as the base solution for soaking the ribs. |
| You can use any type of salt, such as kosher, sea, or table salt. | You can use any type of sugar, such as white, brown, or honey. | Provides essential moisture to the ribs during the brining process. |
| Aids in infusing flavor into the meat through osmosis and diffusion. | ||
| The amount of salt and sugar can be adjusted according to personal taste preferences. |
Additional ingredients like herbs, spices, and liquids can also be added to the brine for enhanced flavor. Popular options include garlic, onion powder, oregano, rosemary, thyme, and paprika.
For a unique twist, you can also try incorporating cold brew coffee or beer into your brine. It is important to use appropriate amounts of these ingredients to maintain a balanced flavor profile without overpowering the taste of the ribs.
Once all the ingredients are combined in a container or plastic bag, the ribs should be submerged in the brine and refrigerated for 4-8 hours. The duration may vary depending on the size and thickness of the ribs. It is crucial not to over-brine the ribs as it can result in excessively salty and mushy meat.
So, salt, sugar, and water are the essential elements for creating a basic pork rib brine. These ingredients work together to add tenderness, moisture, and flavor to the ribs. Experiment with different variations of brines to discover your preferred flavor profile and adjust the amount of salt and sugar based on personal taste preferences.
Steps to Brine For Ribs
Typically, a general guideline is to soak your ribs in a brine solution for one hour for every pound of meat, but not more than 24 hours. However, this can differ depending on various factors such as the type and size of the ribs, individual taste preferences, and safety precautions. It’s crucial to strike the perfect equilibrium to attain the most mouth-watering flavor and tenderness in your ribs.
The process of brining ribs may seem daunting, but trust me, it’s worth it. I’ve been grilling ribs for years and have found that brining is a game-changer when it comes to achieving that perfect juicy and flavorful bite. In fact, I have my own secret concoction that I use to brine my ribs, which I’ll share with you later.
Firstly, let’s talk about the importance of brine time. Perplexed about how long you should brine your ribs? Don’t worry; I’ve got you covered. As mentioned earlier, the general rule is one hour per pound of meat. However, if you’re like me and prefer your ribs to be more on the tender side, you can extend the brine time by an extra half hour or so. Trust me; your taste buds will thank you.
Now, the burstiness factor comes into play. You don’t want your ribs to be overly salty or lack flavor, which is where personal preference and experimentation come in. When creating my brine solution, I like to play around with different herbs and spices to give my ribs that extra kick. My go-to ingredients include garlic powder, onion powder, paprika, cumin, and black pepper.
Moving on to safety considerations. It’s crucial to use food-grade containers when brining meat and store them in the refrigerator at all times. This ensures that harmful bacteria do not grow and cause food poisoning. Also, make sure to discard the brine solution after use and thoroughly clean all equipment to avoid cross-contamination.
Tips for ensuring maximum flavor infusion.
Here are some pointers to ensure maximum flavor infusion when dry brining ribs:
| Precisely measure the salt quantity | The key to a successful dry brine is using the correct amount of salt. Too little will not penetrate the meat enough, while too much can result in an excessively salty taste. As a general rule, use one tablespoon of kosher salt for every five pounds of ribs. |
| Give it ample time | Dry brining is a time-consuming process, but the end result is worth the wait. The longer you allow the ribs to sit with the dry brine, the more flavorful they will become. Ideally, let them rest for at least four hours, but overnight is even better. |
| Patience is crucial | It’s important to resist the temptation to rinse off the dry brine before cooking. Instead, let the ribs sit uncovered in the refrigerator for a few hours before cooking. This will draw out any excess moisture, resulting in a crispy exterior when cooked. |
| Utilize a rub or marinade | While dry brining alone can impart a lot of flavor into ribs, you can elevate it by using a rub or marinade in addition to the dry brine. Just make sure to choose a rub or marinade that complements the flavors of your dry brine. |
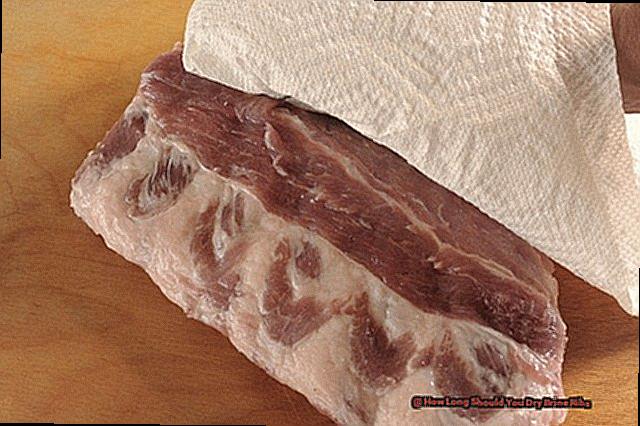
| Keep the ribs as dry as possible | During the dry brining process, it’s crucial to keep the ribs as dry as possible. You can achieve this by patting them dry with paper towels before applying the dry brine and letting them rest on a wire rack in the refrigerator. |
Remember to precisely measure the salt quantity, give it ample time, be patient, utilize a rub or marinade, and keep the ribs as dry as possible.
Grilling Brined Ribs
When it comes to grilling brined ribs, it is essential to determine when they are adequately brined and prepared for cooking. This will guarantee a perfect balance of flavor and texture in your ribs.
There are multiple ways to tell if your ribs have been properly brined and are ready for the grill:
- Internal Temperature: The internal temperature of the ribs should reach around 90°F. Use a meat thermometer to check the temperature in the thickest part of the meat.
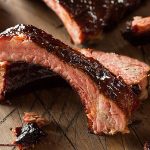
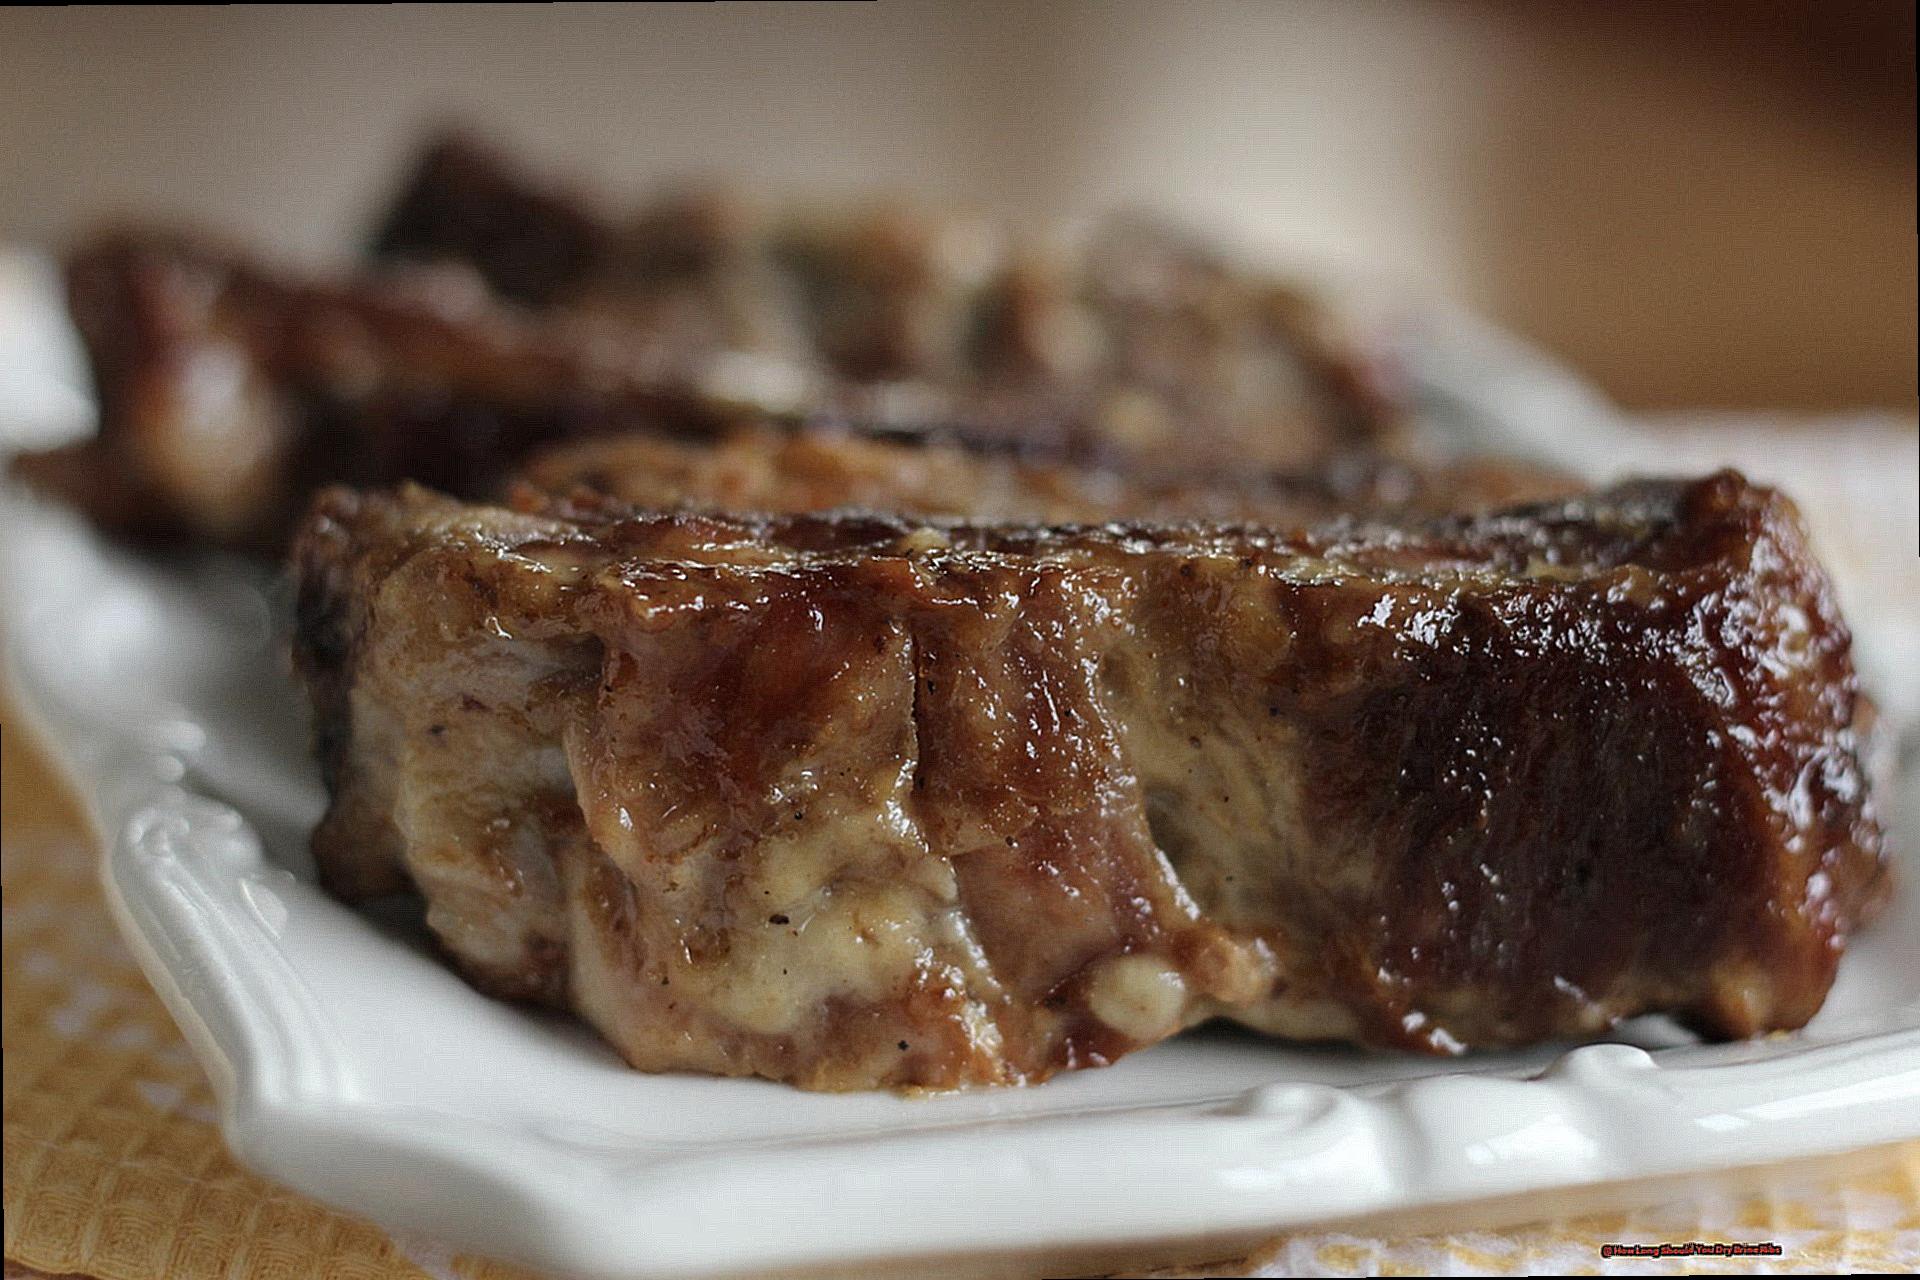
- Color: The meat should have a rich, mahogany color after being brined. This indicates that the salt has successfully penetrated the meat, enhancing its flavor.
- Exposed Bones: When ribs are sufficiently brined, the bones should be slightly exposed. This is due to the shrinkage of the meat during the brining process, revealing more of the bones.
- Bend Test: One way to test if your ribs are ready for grilling is by picking them up with tongs. If they bend effortlessly downwards, then they are ready to be placed on the grill.
- Skewer Test: Another method is to use a wooden skewer and pierce it through the meat. If it passes through smoothly, then your ribs have been properly brined.
- Flexibility: When you pick up a rack of properly brined ribs, it should be highly flexible and not stiff. This indicates that the salt has tenderized the meat, making it easier to cook and eat.
- Meat Pulling Away: As the ribs absorb moisture during brining, they will begin to pull away from the ends of the bones. This is a positive sign that they are ready for grilling.
- Fork Test: Lastly, you can use a fork to determine if your ribs have been properly brined. If the fork moves effortlessly through the meat, then it’s time to start grilling.
In conclusion, these are the primary indicators that your ribs have been successfully brined and are ready for grilling. Keep in mind that the brining process can take anywhere from a few hours to a few days, so be patient and give it enough time for the best results. With these tips, you can ensure that your grilled brined ribs will be flavorful, tender, and juicy every time.
FAQS about brining pork ribs
What is brining?
Brining is a process that involves treating meat with a solution of salt and water to preserve and enhance its flavor.
How does brining benefit pork ribs?
When brining pork ribs, the salt mixture helps to retain moisture and adds tenderness to the meat. Other ingredients such as herbs, sugar, or vinegar can also be added to enhance the flavor of the ribs.
What are the advantages of brining?
Brining infuses the meat with delicious flavors, resulting in a more flavorful and juicy end result. It also helps to reduce cooking time by tenderizing the meat and preventing it from drying out.
Will brining make my pork ribs taste salty?
No, as long as you follow the proper brining process. The amount of salt used in the solution is carefully measured to ensure that the meat does not become overly salty.
How can I achieve perfectly cooked pork ribs with brining?
By following the brining process, you can achieve perfectly cooked pork ribs that are both flavorful and tender. The infusion of flavors and moisture retention from brining results in delicious and succulent ribs every time.
Brined pork ribs are a delicious addition to any meal. The process of brining not only adds flavor but also has many benefits for cooking pork ribs. By using a combination of salt, water, and other ingredients, such as herbs or sugar, you can create a flavorful and juicy end result. This technique is used by many professional chefs to elevate their dishes and impress their guests.
Furthermore, brining can also help reduce cooking time by tenderizing the meat and preventing it from drying out. This means that you can enjoy perfectly cooked pork ribs without worrying about them becoming tough or dry. The infusion of flavors from the brine also adds depth to the taste of the ribs, making them even more enjoyable.
To achieve optimal results when brining pork ribs, it is essential to follow the proper brining process. This includes using the correct measurements of salt and water, as well as adding other ingredients for added flavor. By doing so, you can ensure that your pork ribs are not only delicious but also cooked to perfection.
Brining is a simple yet effective technique for enhancing the flavor and tenderness of pork ribs. By following the proper process and using quality ingredients, you can achieve perfectly cooked ribs that are bursting with flavor.
Conclusion
In conclusion, dry brining is the secret to achieving delectable and well-seasoned ribs that will leave your taste buds dancing with joy.
By coating your ribs in salt and allowing them to rest in the fridge before cooking, you can elevate your grilling game and impress your loved ones with succulent meat bursting with flavor. But how long should you let them brine for the best results?
While there is no set time that guarantees perfect ribs every time, factors such as the type of ribs and personal preference can impact the ideal duration. From baby back to spare to St. Louis ribs, different cuts may require varying lengths of time for optimal flavor infusion.
Additionally, expert tips like precise salt measurement, giving enough time for brining, using a rub or marinade, keeping the ribs dry during the process, and accurately determining when they are ready for grilling can ensure consistently delicious results.